How do I activate and connect my Stripe payment gateway sub-account?
Overall Process
The entire activation process follows a three-step strategy: "Platform Guidance → Official Website Registration → Activation Complete," minimizing your operational burden.
| Process Stage | Platform / Operating Entity | Key Action | Core Output |
|---|---|---|---|
| 1. Initiate Connection | ForentX Platform | Merchant clicks theStripe application button and fills in basic email and country information. | Stripe Sub-Account successfully created |
| 2. Official Verification KYC | Stripe Official Website | Set login password, submit company details, KYC identity verification, bind bank withdrawal account. | Stripe Account Activated Status |
| 3. Final Activation | ForentX Platform | Merchant is redirected back to the platform, and the Stripe status is automatically updated. | Stripe Channel Status: Completed |
Specific Operation Steps
Step 1: Initiate Connection on ForentX Platform
In your ForentX Landlord Backend, please follow these steps:
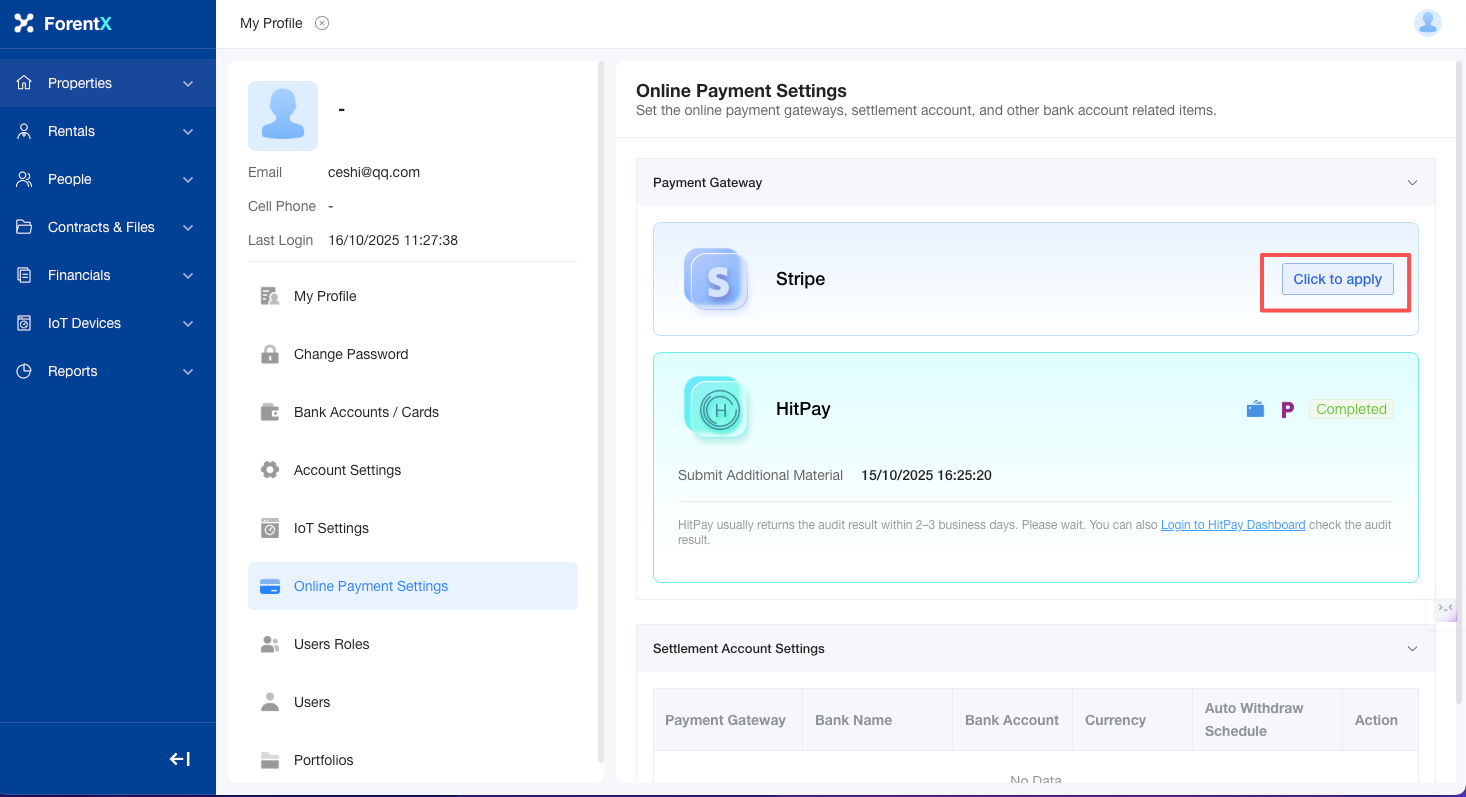
- Log in to the Landlord Backend and navigate to "Online Payment Settings" in the right-hand menu bar.
- On the right side of the page, find the "Stripe" option and click the "Click to Apply" button.
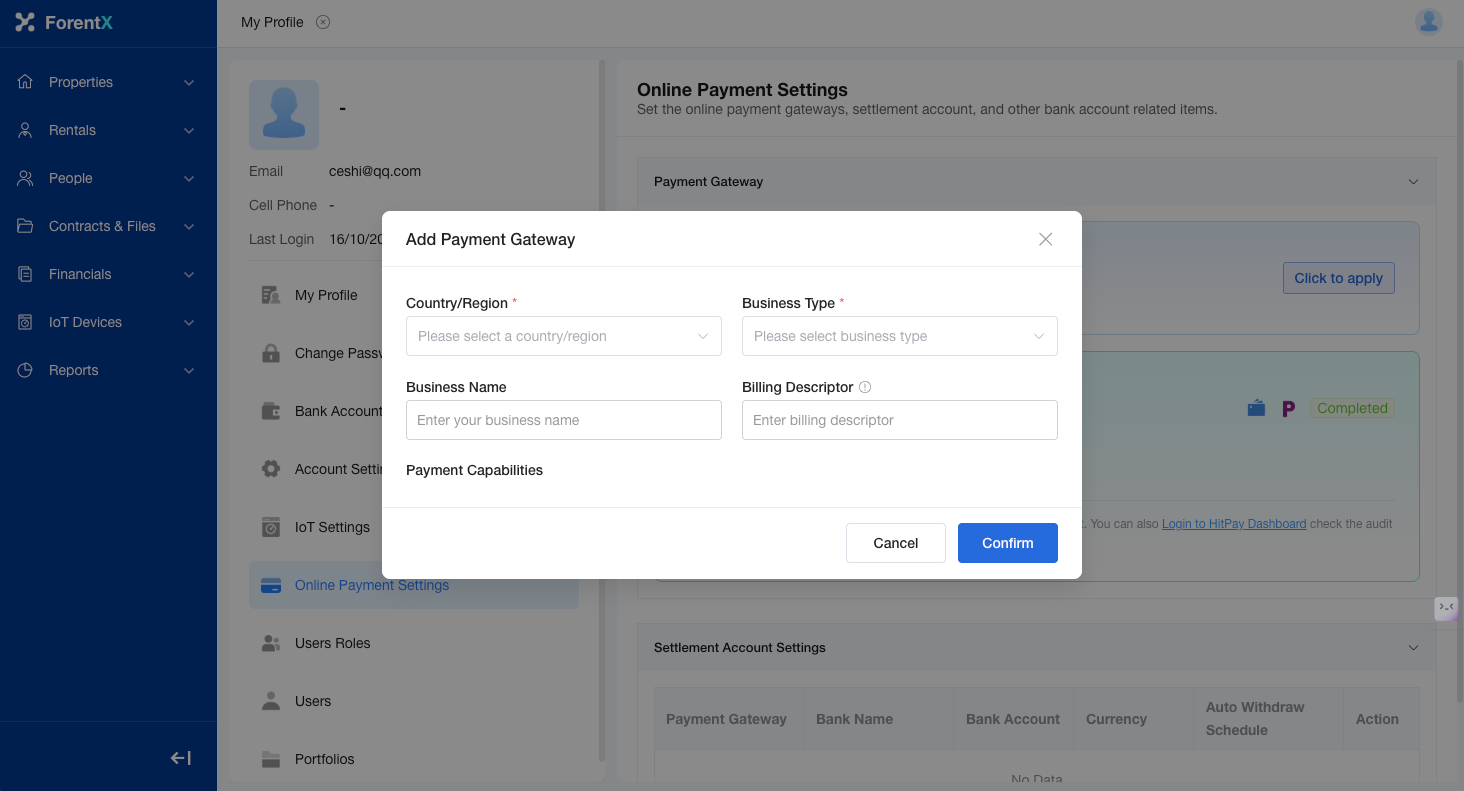 3. A pop-up window will appear where you fill in basic information, selecting the Country/Region, Business Type, Business Name, Statement Descriptor, and desired Payment Capabilities.
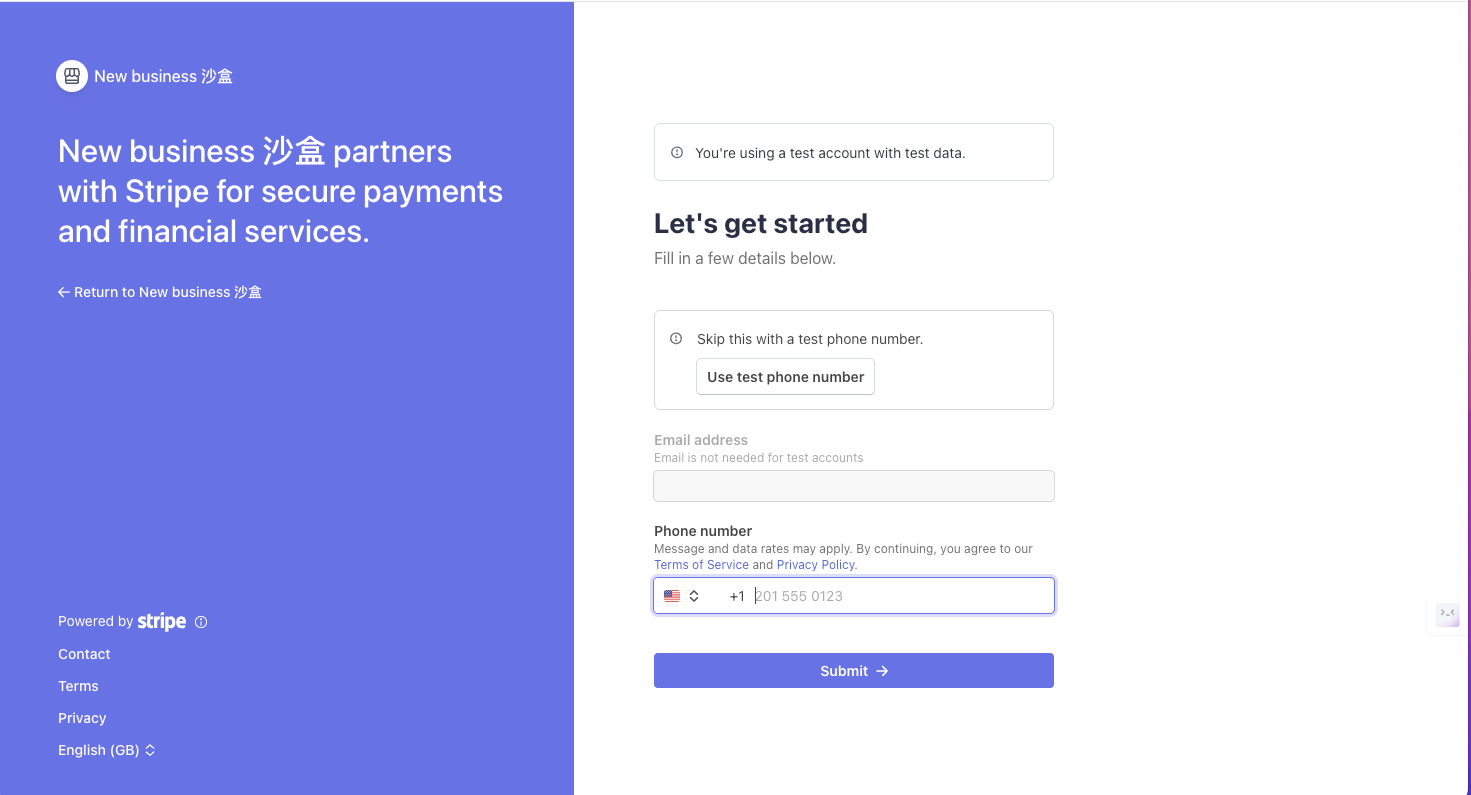
Step 2: Official Verification (KYC)
Note: The registration process in the test environment is largely consistent with the live environment. The following examples use the test environment.
1. Business Type
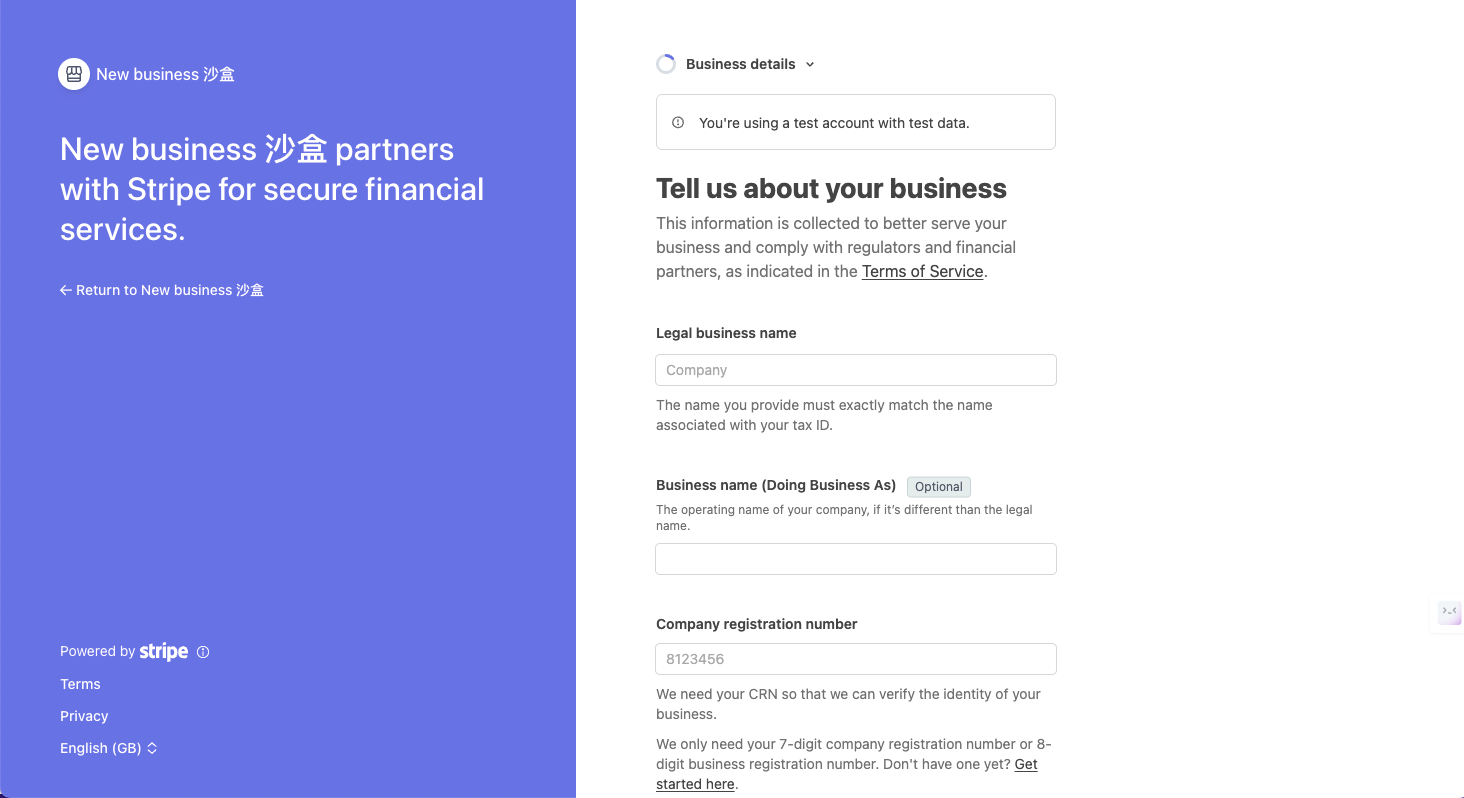
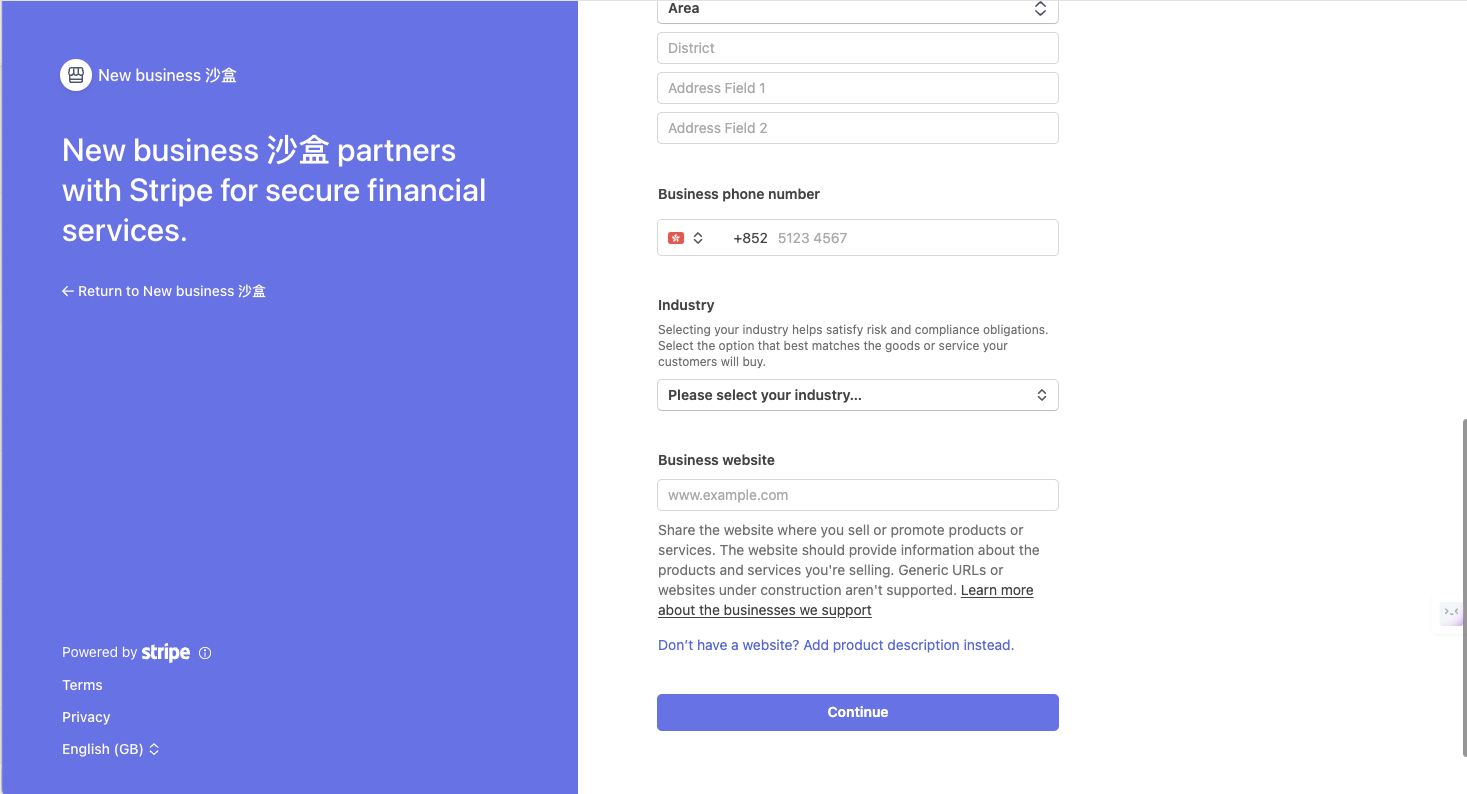
2. Company Details
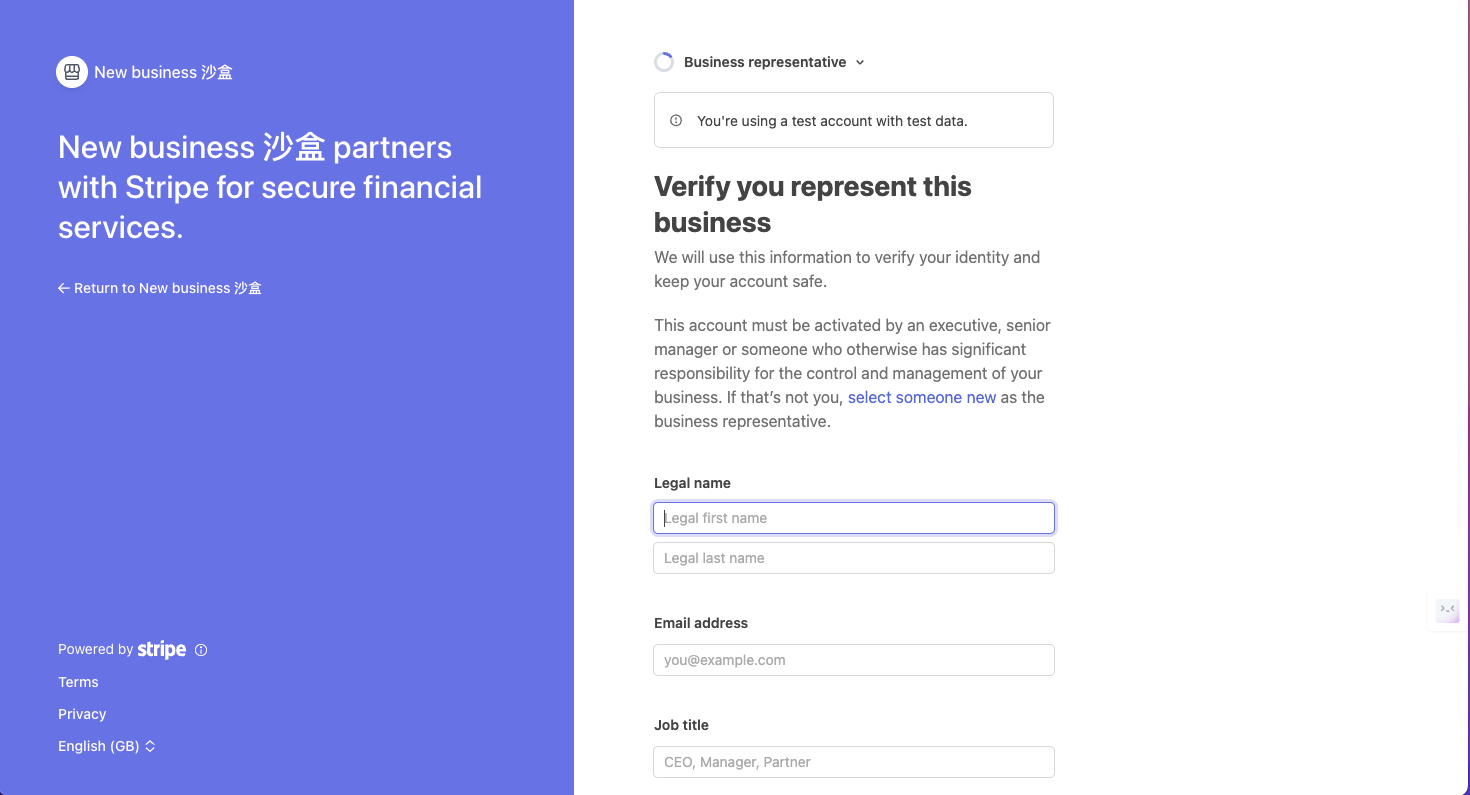
3. Company Representative
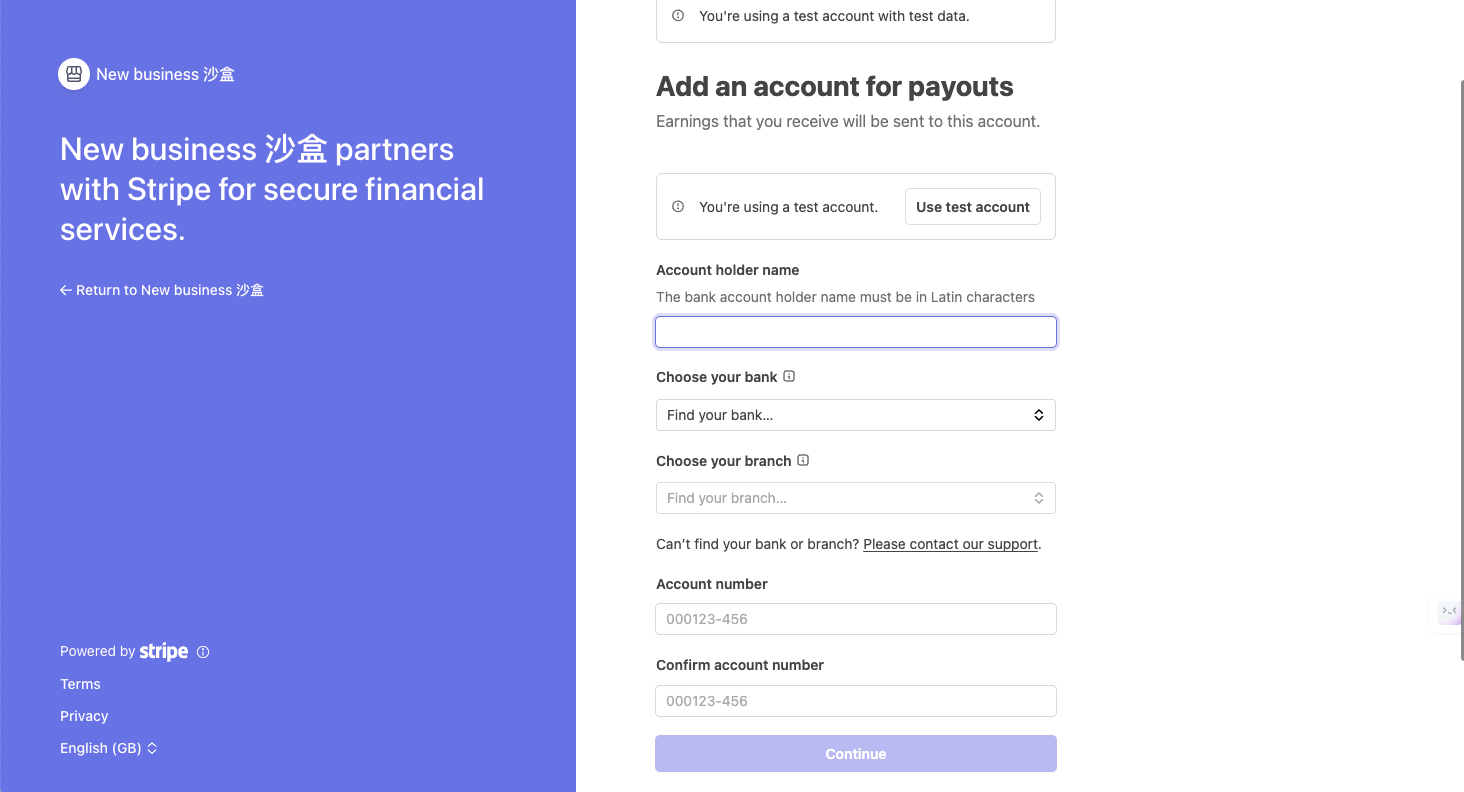
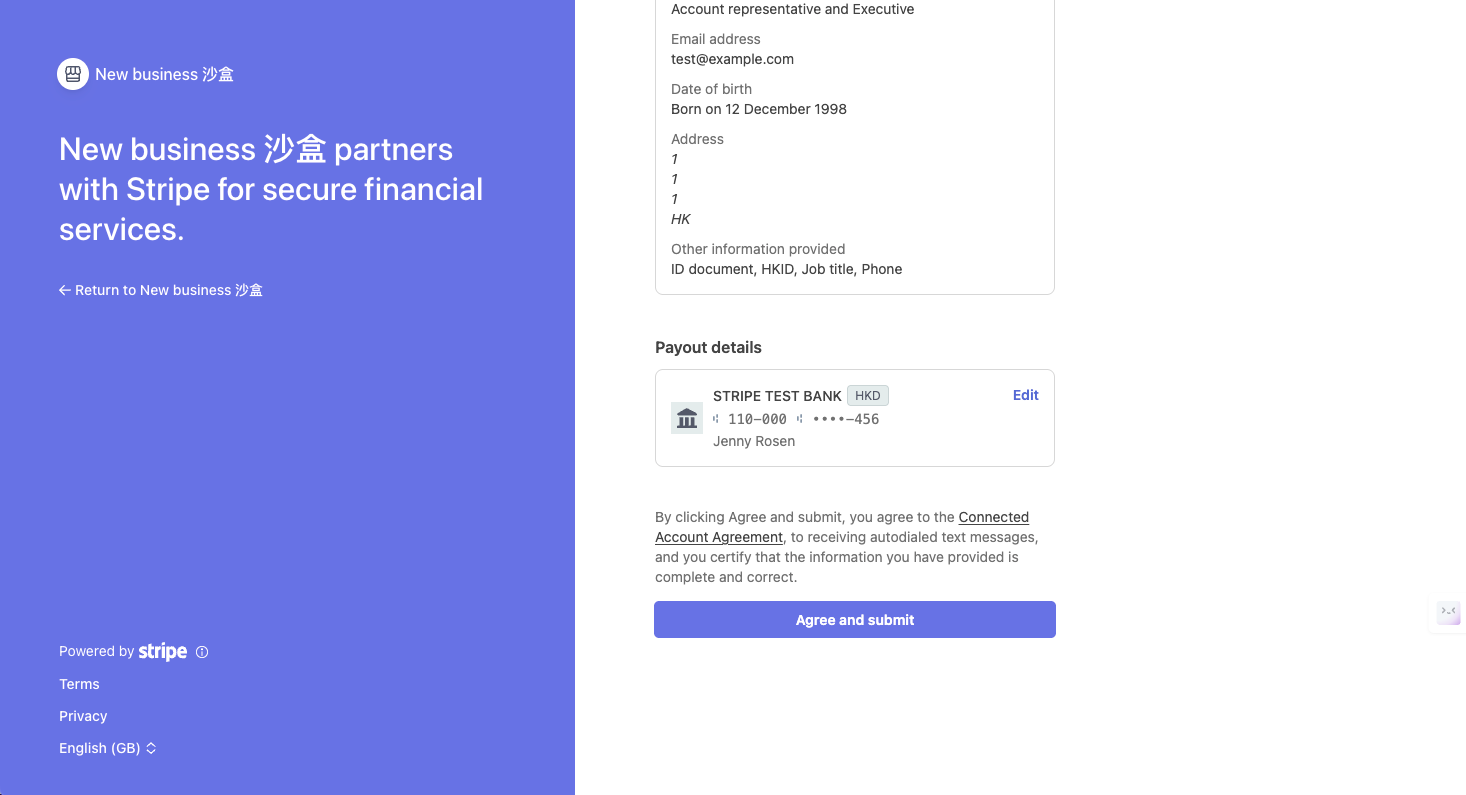
4. Bank Details
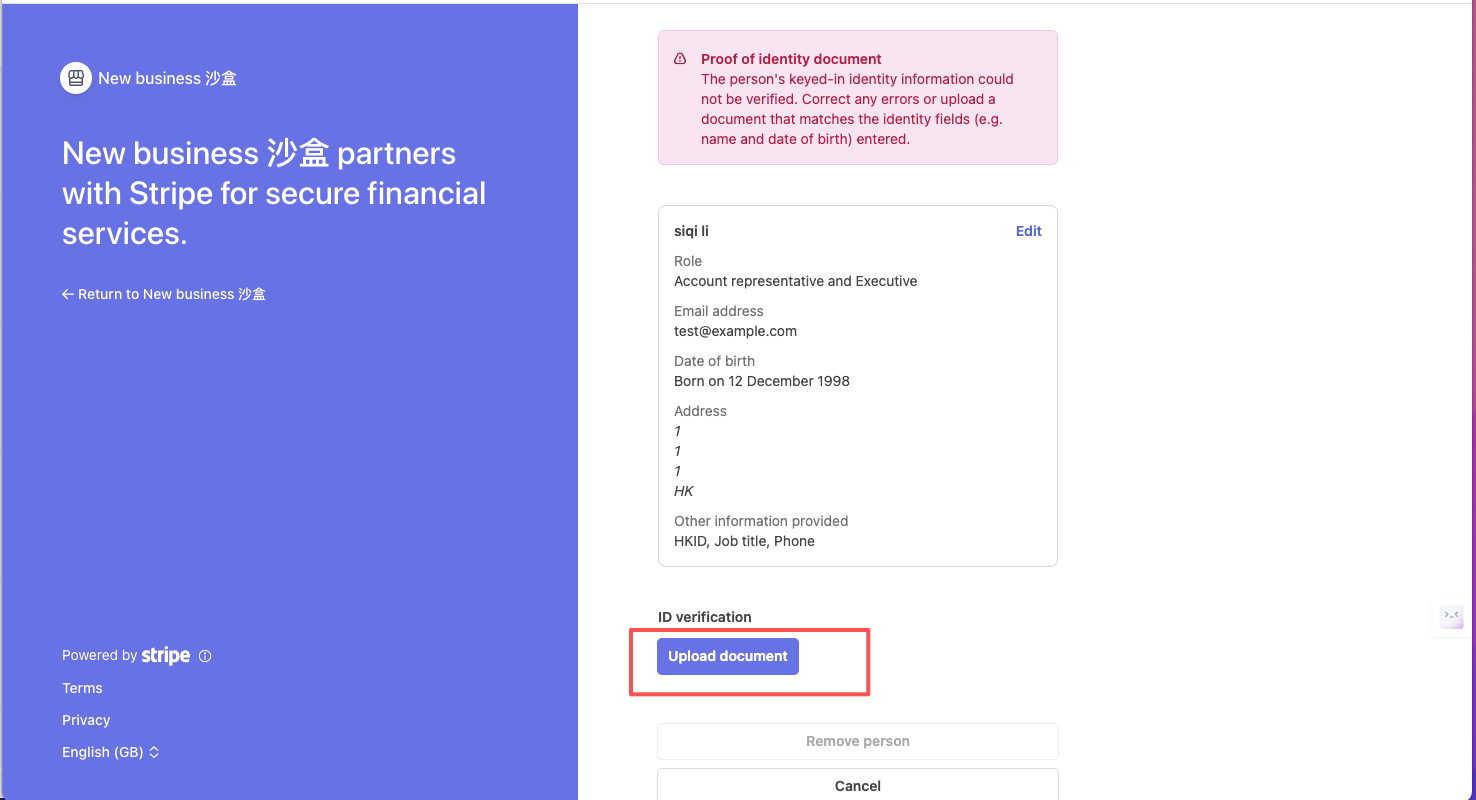
5. Verification Documents
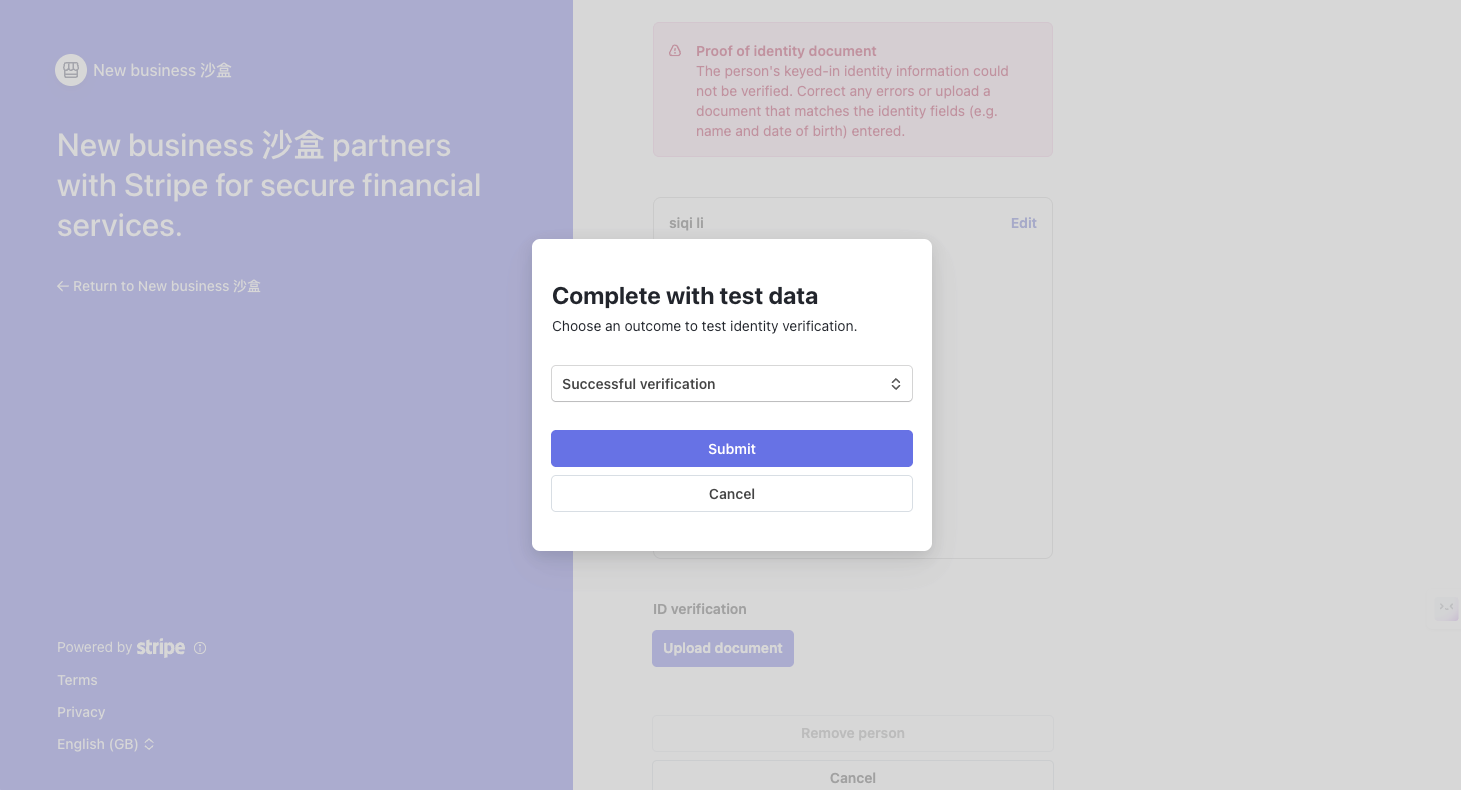
6. Submit Information and Wait for Review
Click the [Confirm] button at the bottom to complete the onboarding process.
Step 3: Status Activation
The merchant is redirected back to the platform, and the Stripe status is automatically updated to [Completed]. After the information review is approved, the Stripe payment method will be officially enabled.
Reference: All Required Information
| Module | Required Information |
|---|---|
| Business Type | Mobile phone number, verification code, email |
| Company Details | Legal business name, business name (optional), company registration number, business address, company phone number, industry, company website |
| Company Representative | Legal name, email address, position, date of birth, home address, company phone, identity document number |
| Bank Details | Account holder name, select bank, select branch, account number |
| Business Owners | Individuals holding $\text{25%}$ or more of the company's shares must be added. If the business owner is the same as the company representative, this can be skipped; otherwise, information must be added, consistent with the [Company Representative] details |
| Verification Documents | Photo of identity document |